Access Your Remote IoT Devices: Mac & Firewall Guide
Are you finding it a challenge to remotely access your Internet of Things (IoT) devices from your Mac, especially when they're nestled behind a firewall? Gaining secure and efficient remote access to your IoT devices from your Mac, even when a firewall is in place, is entirely achievable.
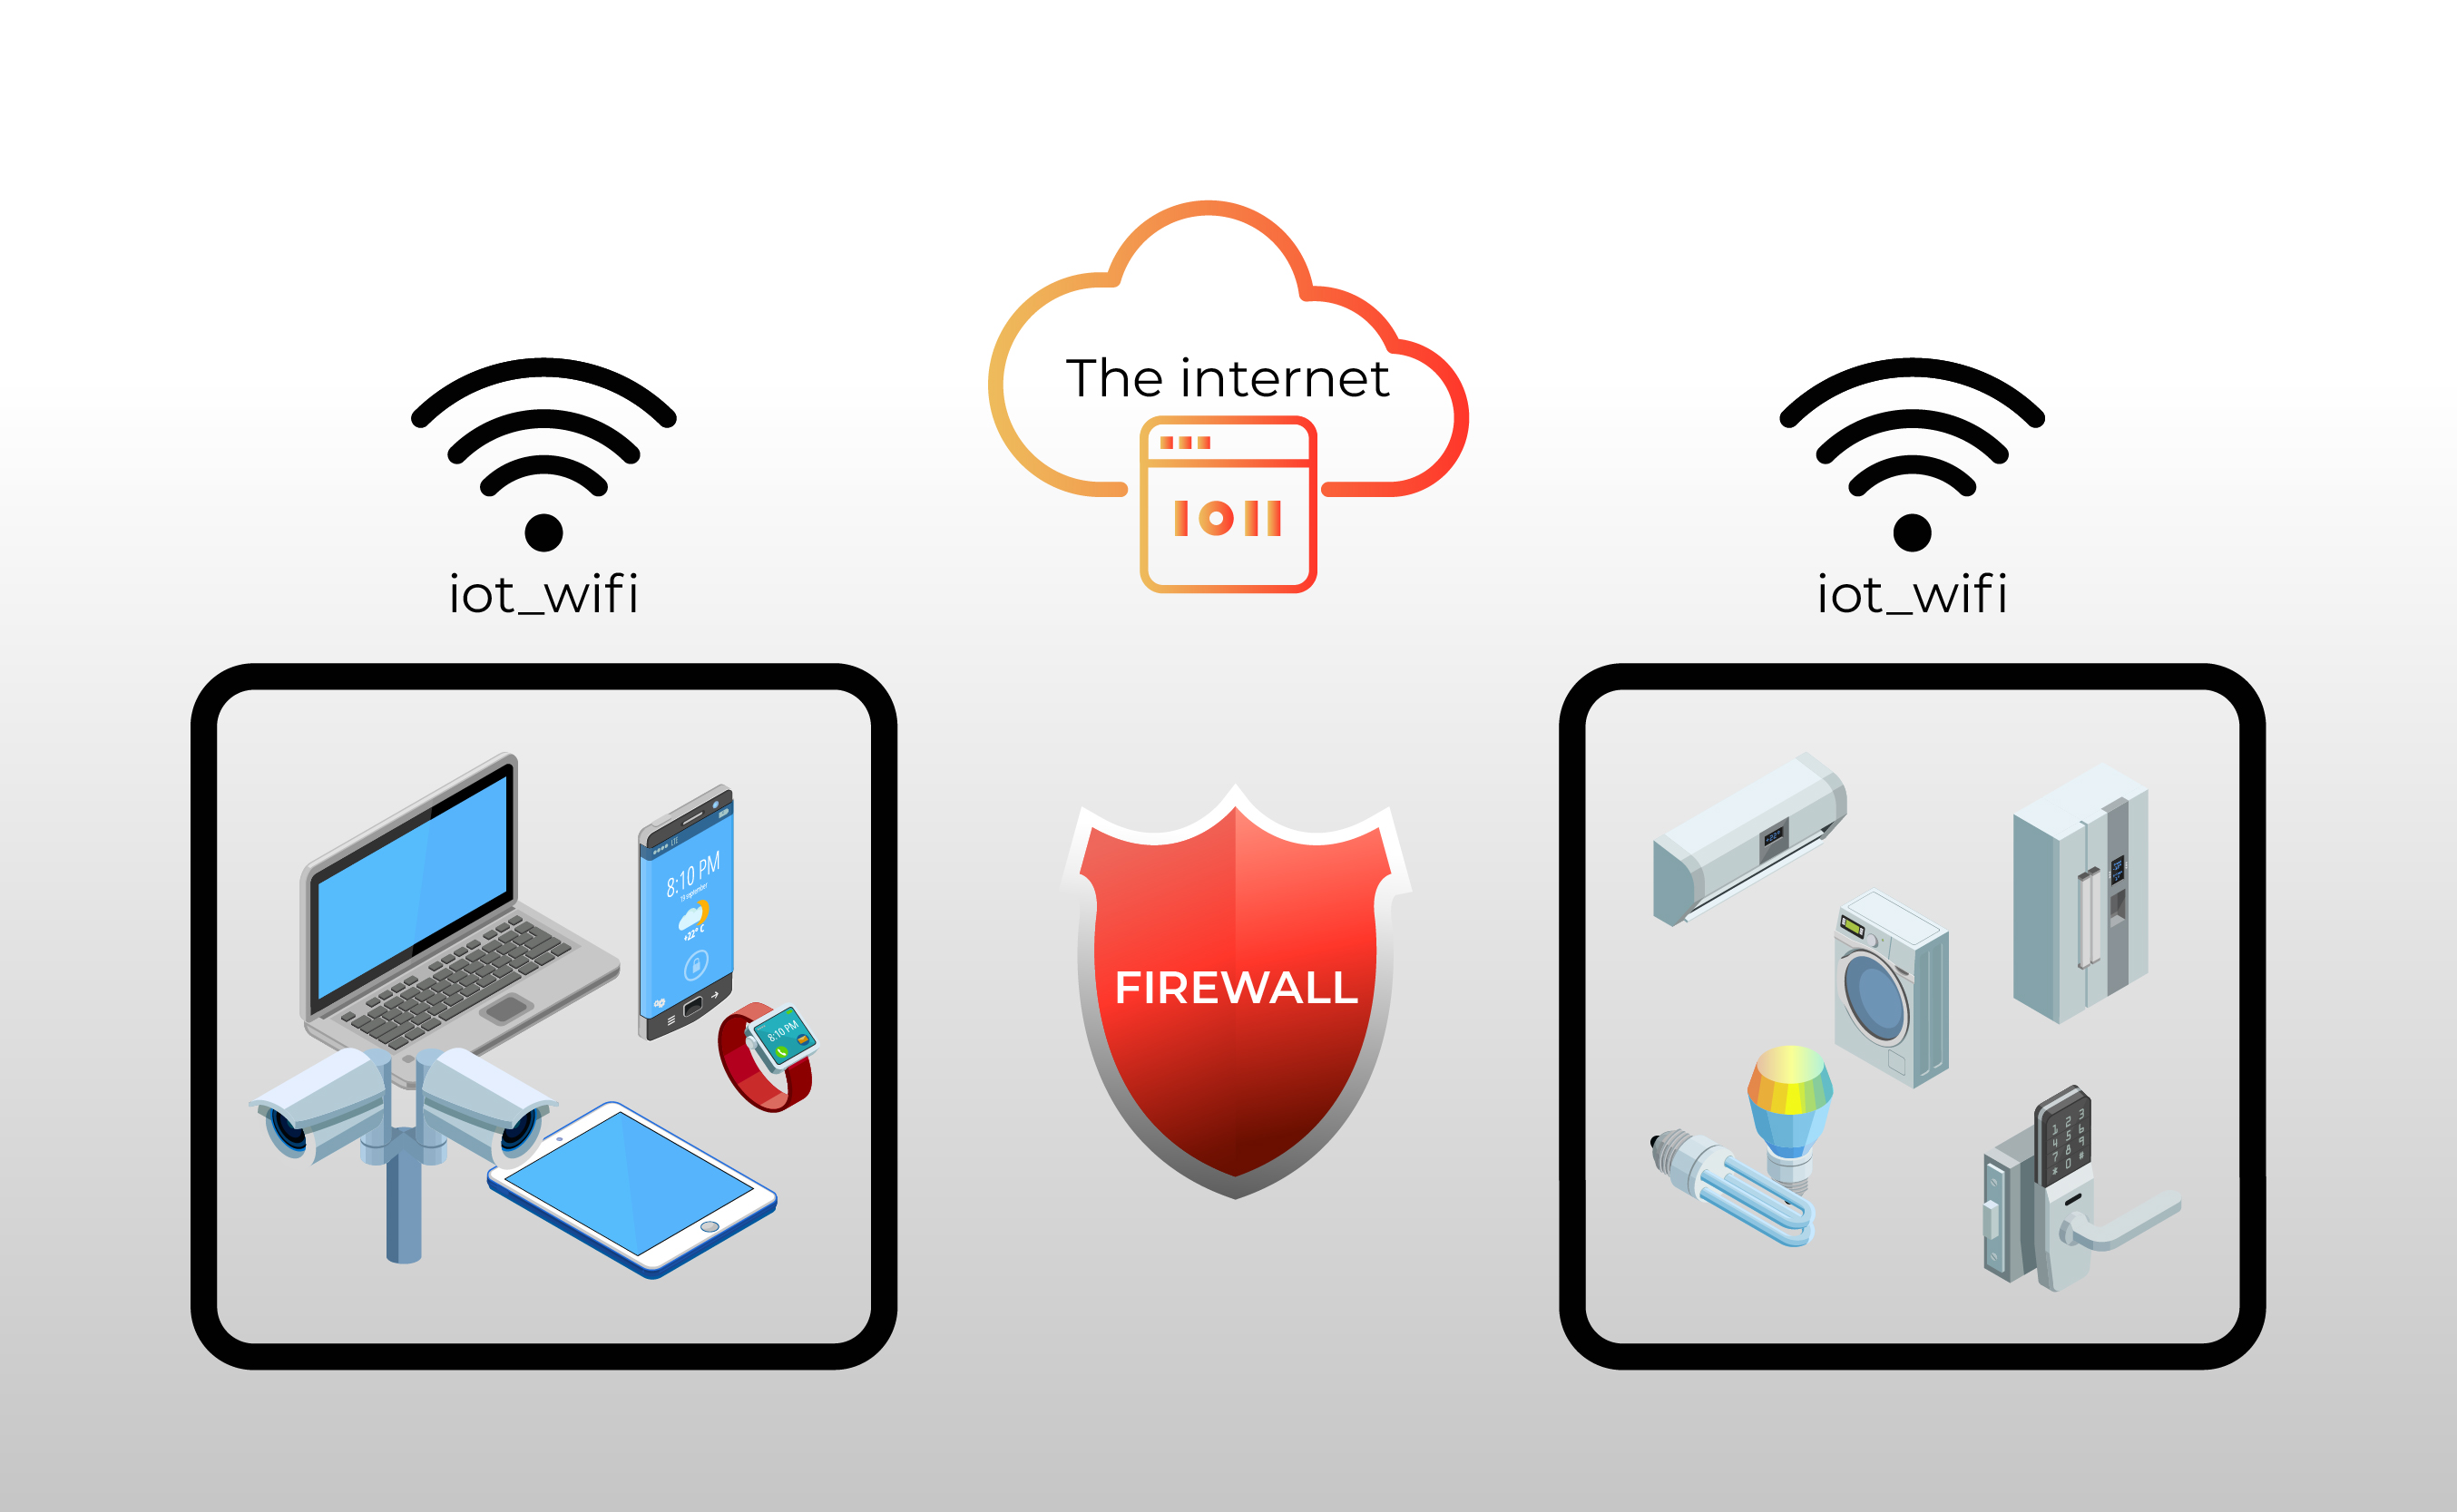
In today's interconnected world, IoT devices have become indispensable. From the smart thermostat regulating your home's temperature to the industrial sensors monitoring critical infrastructure, these devices provide a wealth of information and control. However, the very nature of their placement, often behind a router and protected by a firewall, presents a significant hurdle to remote access. This article aims to demystify the process, providing a clear, step-by-step guide to help you effortlessly manage and monitor your smart devices from virtually anywhere, all without the need for Windows.
Before we delve into the specifics, let's acknowledge the core challenge: firewalls are designed to protect networks from unauthorized access. This inherent security measure, while crucial for safeguarding your network, can inadvertently block legitimate remote connections to your IoT devices. To overcome this, we need to implement strategies that bypass these restrictions while maintaining a secure connection. Fortunately, several effective methods and tools are available, especially for Mac users.
Understanding the Landscape
The primary obstacle in accessing your IoT devices is the firewall. This security layer, built into your router, acts as a gatekeeper, scrutinizing incoming and outgoing network traffic. By default, firewalls often block unsolicited incoming connections, making it difficult to reach your devices from outside your local network. However, by carefully configuring your router and employing the right software, you can create pathways for remote access.
The good news is that remote access to your IoT devices is not only possible but also manageable, especially for Mac users. This guide will present several approaches to overcome the firewall challenge and provide a secure and efficient method to monitor and control your IoT devices. The key lies in choosing the right tools and understanding the techniques involved.
Essential Tools and Techniques
To embark on this journey, you'll need to equip yourself with the right tools and understand the underlying mechanisms. Here's a breakdown of the essential components:
1. A Router That Supports the Features
The first, and perhaps most critical, element is a router that offers specific functionalities. Look for a router that supports both port forwarding and MAC address filtering. Port forwarding allows you to direct incoming network traffic to a specific device on your local network (in this case, your IoT device), while MAC address filtering adds an extra layer of security by controlling which devices are allowed to connect. Make sure your router's firmware is up to date, as updates often include security enhancements and improved features.
2. Port Forwarding Configuration
Port forwarding is the cornerstone of remote access. You need to configure your router to forward specific ports to your IoT device. This means that when an external connection attempts to reach your IoT device, it will go through the router which will then direct the traffic to the relevant port. Common ports for remote access include port 22 (for SSH), port 80 (for HTTP), and port 3389 (for Remote Desktop Protocol, or RDP, although this is typically used for Windows systems).
The configuration process varies depending on your router's manufacturer and model. You'll typically access your router's settings through a web interface (usually by typing the router's IP address into your web browser). Within the settings, you'll find a "Port Forwarding" or "Virtual Servers" section. Here, you'll need to specify the port, the IP address of your IoT device (which is usually static, or fixed, on your local network), and the protocol (TCP or UDP). For security reasons, only forward the necessary ports.
3. SSH (Secure Shell) for Secure Tunneling
SSH, or Secure Shell, is a network protocol that enables secure communication over an unsecured network. It provides a secure channel for data transmission, encrypting all traffic between your Mac and the IoT device. SSH is one of the most popular and recommended methods for remote access. It establishes a secure "tunnel" through the firewall, allowing you to securely interact with your IoT device as if you were on the local network.
To use SSH, you'll need an SSH client on your Mac and an SSH server running on your IoT device. Most Linux-based IoT devices, like Raspberry Pi, come pre-installed with an SSH server. For other systems, you may need to install an SSH server software. Once the SSH server is up and running on your IoT device, you can use your Mac's built-in terminal to connect to it via SSH. The command typically looks like this: ssh username@ip_address_of_iot_device. You will need to replace "username" with the username of the user account on your IoT device, and "ip_address_of_iot_device" with the local IP address assigned to it by your router.
4. Remote Desktop Protocol (RDP) for Windows and Linux
RDP (Remote Desktop Protocol) provides a way to access the graphical desktop of another computer remotely. This means you can see the screen, use the mouse, and operate the other computer as if you were sitting in front of it. While RDP is more commonly used for Windows environments, it can also be configured on Linux.
If your IoT device is running a Windows operating system, the RDP server is built-in. You just need to enable it in the system settings and set up a username and password. For Linux-based systems, you'll need to install an RDP server. xrdp is a popular and widely used option that acts as a front-end to connect to your Linux server. The software needs to be installed and configured on the IoT device. The command line installation is different depending on what type of Linux server you have, such as Ubuntu or Debian. Once xrdp is up and running on your Linux server, you can connect to it using an RDP client such as Remote Desktop Connection (RDC) in Windows or Remmina in Linux.
The RDP enables users to connect to a remote desktop via a network. This may help manage and control iot behind firewall.
5. Virtual Private Network (VPN)
A VPN creates a secure, encrypted connection over a public network. This is another effective option to bypass firewalls and securely access your IoT devices. When you connect to a VPN, your internet traffic is routed through the VPN server, which gives you a different IP address and hides your actual location. This is a very secure way to connect to your IoT devices. It creates a secure connection between your Mac and your home network, allowing you to access your IoT devices as if you were on your local network.
Setting up a VPN involves configuring both the VPN server on your home network and a VPN client on your Mac. This requires some technical knowledge, but there are numerous tutorials and guides available online. You will usually need a router that supports VPN server functionality. Some routers come with built-in VPN servers, which simplifies the process. Others require you to install third-party firmware, such as DD-WRT or OpenWrt, which offer more advanced features, including VPN capabilities. VPN services can be either free or paid. Several providers offer user-friendly apps for Mac.
6. Remote Access Tools and Software
Several specialized remote access tools can simplify the process and provide a user-friendly interface. Some options include:
- TeamViewer: This versatile tool is known for its cross-platform compatibility and ease of use. It offers a good solution for individuals with limited technical expertise.
- AnyDesk: Another popular option, AnyDesk is known for its speed and performance, making it a good choice for remote access.
- Tailscale: Tailscale creates a secure network based on WireGuard VPN protocol, which is known for its speed and efficiency.
These tools often incorporate their own methods to bypass firewalls and establish secure connections. They usually require you to install an agent on both your Mac and your IoT device, then they facilitate the connection through their own servers. This can simplify the setup process compared to manually configuring SSH or VPNs.
To remote connect iot device behind firewall mac without hassle, you need the right tools. You will need a router that supports MAC address filtering and port forwarding. A versatile remote access tool that works seamlessly across firewalls. A comprehensive guide for 2023 mastering iot remote access over the internet for android devices web ssh iot download for mac, and the ultimate guide mastering remoteiot vpc ssh on raspberry pi with aws, are several articles and guides with more tools, and software for better options for your remote access.
These solutions offer varying levels of complexity and control. Choose the method that best aligns with your technical skills, security requirements, and the capabilities of your IoT devices.
Methods to Connect IoT Devices Behind a Firewall
There are several methods to connect to an iot device behind a firewall. Each method has its own advantages and limitations, so it's important to choose the one that best suits your needs.
Security Considerations
Security should be your top priority when configuring remote access. Here are several security best practices to implement:
- Strong Passwords: Use strong, unique passwords for all your devices and accounts.
- Two-Factor Authentication (2FA): Whenever possible, enable 2FA for an extra layer of security.
- Regular Updates: Keep your router's firmware and all software on your IoT devices updated to the latest versions.
- Firewall Rules: Only open the necessary ports on your router. Avoid forwarding all ports unless absolutely necessary.
- Disable UPnP: Universal Plug and Play (UPnP) can be convenient but poses a security risk. Disable it on your router if you don't need it.
- Monitor Your Network: Regularly review your network logs for suspicious activity.
Step-by-Step Guide to Remote Access
Here's a general step-by-step guide to setting up remote access to your IoT devices using SSH, the most popular method:
- Identify Your IoT Device's IP Address: You'll need to know your device's IP address on your local network. You can typically find this in your router's settings or by checking the device's network configuration.
- Enable SSH on Your IoT Device: Most Linux-based IoT devices have SSH pre-installed. If not, you'll need to install it. For example, on a Raspberry Pi, you might use the command
sudo apt-get update && sudo apt-get install openssh-server.Ensure that SSH is enabled and running (this is usually enabled by default). - Configure Port Forwarding on Your Router: Log in to your router's settings and navigate to the "Port Forwarding" section. Create a new rule to forward traffic on port 22 (the standard SSH port) to the IP address of your IoT device. Make sure to specify the protocol (usually TCP).
- Set Up a Static IP Address: To ensure that your IoT device's IP address doesn't change, configure it as a static IP address on your local network. This will prevent you from having to update your router's port forwarding settings if the IP address changes.
- Find Your Public IP Address: You'll need to know your public IP address, which is assigned to your home network by your Internet Service Provider (ISP). You can find it by searching "what is my IP" on the web.
- Connect via SSH from Your Mac: Open the Terminal application on your Mac and use the following command (replace with your username and public IP address):
ssh username@your_public_ip_address. You will be prompted for your password. If the connection is successful, you will be logged into the command line of your IoT device.
By following these steps, you will establish a secure, remote SSH connection to your IoT device.
Troubleshooting Common Issues
Here are some common problems you might encounter and how to address them:
- Connection Refused: This typically indicates that the SSH server is not running on your IoT device or that the port forwarding is not configured correctly. Double-check the SSH server status, IP address, and port forwarding settings on your router. Make sure you are using the correct public IP address of the router
- Timeout Errors: This might mean that there is a firewall blocking your connection. Check your router's firewall settings and make sure that port 22 (or your custom SSH port) is open. Also, check that your internet connection is active
- Incorrect Credentials: Make sure you're using the correct username and password for your IoT device.
- Public IP Address Changes: If your ISP assigns you a dynamic IP address, it can change periodically. Consider using a dynamic DNS service, which automatically updates your hostname to reflect your current IP address.
Best Remote Access IoT Devices Solutions
Remote connect iot behind firewall mac free solutions allow users to access, manage, and monitor their devices without compromising security or incurring additional costs. Here are some of the most effective solutions:
- SSH (Secure Shell) Tunneling: Allows you to create a secure connection between your Mac and IoT device.
- VPN (Virtual Private Network): Create a secure, encrypted connection over a public network.
- Remote Desktop Tools: Software like TeamViewer or AnyDesk.
With xrdp up and running on your linux server, you can now connect to it using an rdp client such as remote dekstop connection (rdc) in windows or remmina in linux. However, many users face challenges when attempting to connect to iot devices located behind a firewall, especially on macos systems.
If you are using linux, use the following command to install remmina on your ubuntu linux based access device such as your laptop:
Remote connect iot behind firewall mac download without windows
For mac users looking to establish a remote iot connection behind a firewall without relying on windows, there are several tools and methods available. One popular option is to use ssh (secure shell) to create a secure tunnel between your mac and the iot devices.
Connecting to an iot device behind a firewall from your mac can seem like a daunting task, but with the right tools and techniques, it becomes manageable. This article will guide you through the process step by step, ensuring you achieve secure and efficient remote access to your iot devices without compromising your network's security.

How To Securely Access IoT Devices Behind Firewalls A Guide To Remote
Remote Manage IoT Behind Firewall On Windows 10 A Comprehensive Guide

How To Remote Connect IoT Behind Firewall On Mac And Windows For Free
